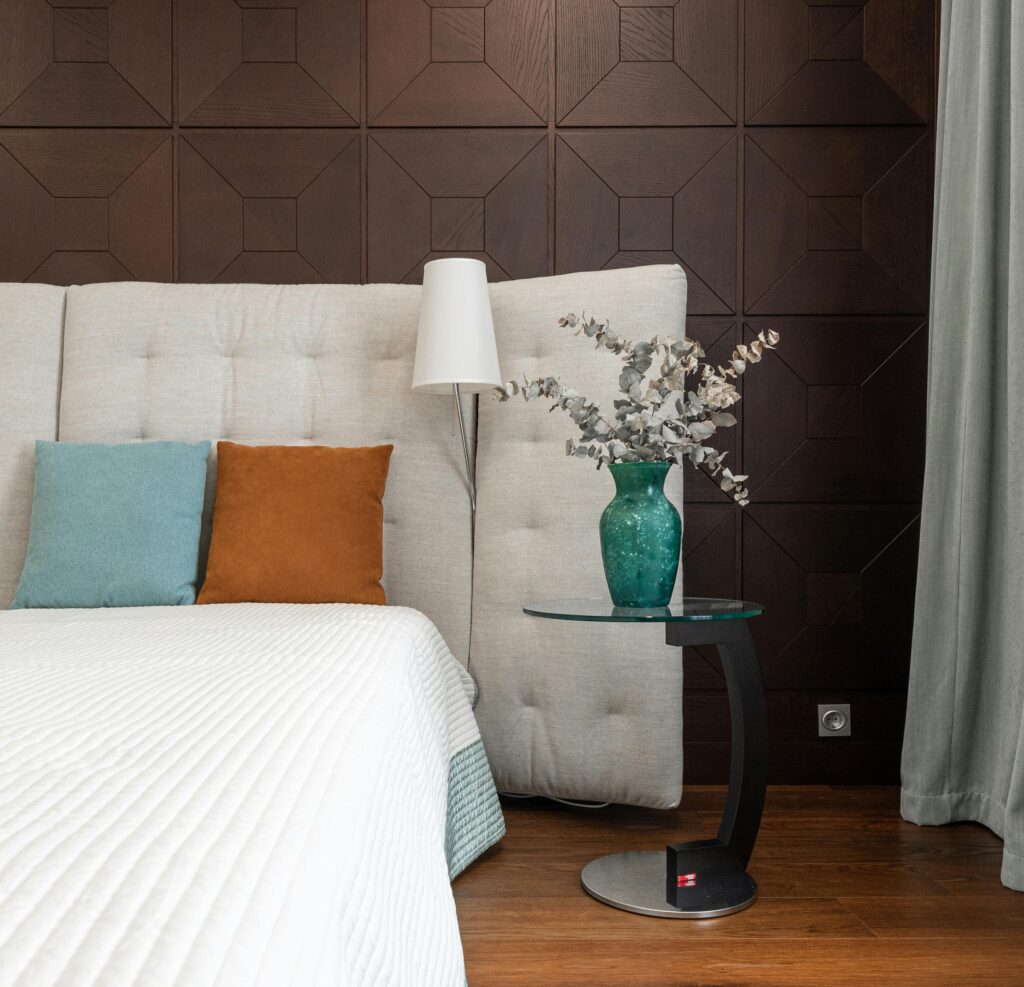
By: A person who has definitely cried in an IKEA parking lot before.
Let me paint you a little picture. It was a Thursday evening, about two years ago. I was lying on my bed—well, I was trying to lie on my bed. But I couldn’t. Because the left side of my mattress was covered in clean laundry I hadn’t folded, the nightstand was actually a stack of old textbooks, and the wall facing me was a sad, creamy shade of “Landlord Beige.”
I remember scrolling through Pinterest at 11 PM, looking at those impossibly perfect bedrooms. You know the ones. The ones with the fluffy duvets, the moody lighting, and the vintage rugs that probably cost more than my laptop. I felt that familiar pang of envy. I wanted that sanctuary. I wanted a place that felt like me, not like a holding cell for a person who hadn’t quite figured out adulthood yet.
But here is the plot twist: I had fifty bucks to my name until next Friday. Fifty dollars.
That night, I made a promise to myself. I wasn’t going to wait until I won the lottery to have a beautiful room. I was going to get creative, a little scrappy, and frankly, a little weird. What followed was a two-month journey of thrift store heartbreaks, DIY disasters (RIP, that mason jar soap dispenser), and one glorious victory involving a can of spray paint and an old pallet.
So, if you are currently lying on a mattress that is also your dresser, welcome. Let me tell you how I turned my sad beige box into a cozy haven without breaking the bank. And you can do it too.
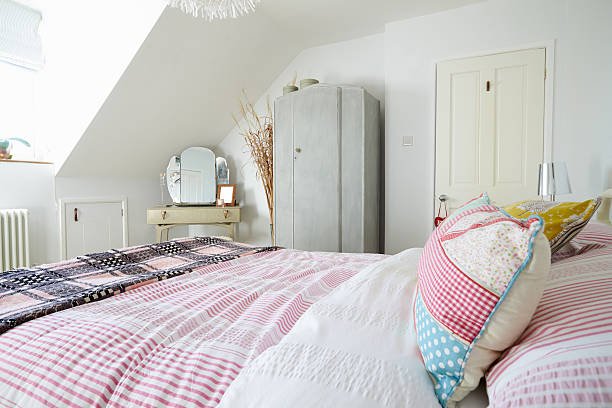
The Great Purge (And The Art of Moving Things Around)
The first thing I learned is that “decoration” isn’t always about buying things. Sometimes, it’s about moving things.
I emptied my entire room. Everything went into the hallway. And I mean everything: books, weird cords, that “maybe I’ll fix it” lamp from 2019. When the room was empty, I sat on the floor and just looked. The space felt bigger instantly.
Then came the rule: Don’t put anything back until you’ve asked, “Does this spark joy?” (Yes, I went full Marie Kondo. Don’t judge me.)
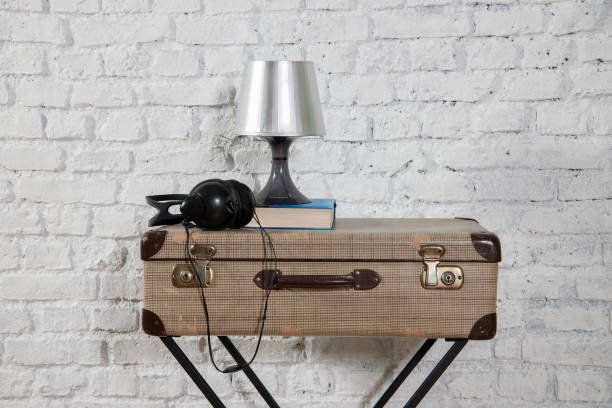
But here is the money-saving secret: Instead of buying new shelves or a nightstand, I looked in the living room. My mom had an old wooden stool she was about to throw out. I stole it. That became my nightstand. My brother had a stack of vintage suitcases he didn’t want. I stacked them next to the closet. Instant side table and storage.
Pro tip from my wallet: Shop your own house first. Walk into your living room, kitchen, or basement. You will be amazed what you find. A mixing bowl becomes a jewelry holder. A ladder becomes a blanket rack. A stack of books becomes a sculpture.
The Thrift Store Hunt (And The Velvet Disaster)
My first real “shopping trip” was to a Goodwill on a rainy Tuesday. I had $30 in my pocket. I learned immediately: Thrifting is not for the faint of heart. You have to dig. You have to have vision.
I also found three identical glass jars for $1 each. I cleaned them up, filled one with dried lentils (they look like fancy pebbles), one with cotton balls, and left one empty for a candle. Suddenly, my thrift store jars looked like they belonged in a West Elm catalog.
However. Let me tell you about the velvet pillow incident. I found this burnt orange velvet pillow for $2. It looked perfect. I brought it home, threw it on the bed, and… my cat immediately threw up on it. Then I realized the pillow smelled faintly of cigarette smoke and old basement. That was a learning curve. Always smell the thrift store fabric, folks. Always.
The DIY Battles (Spray Paint Is My Best Friend)
If you want to save money on bedroom decor, you need to make friends with two things: Spray paint and Command Strips. They are the dynamic duo of broke decorating.
I had a cheap, beat-up mirror from a college dorm. The plastic frame was cracked and it was that weird fake-bamboo color. I took it outside, laid down a trash bag, and bought one can of matte black spray paint ($7). Three light coats later, that mirror looked like it came from a chic boutique hotel. Spray paint covers a multitude of sins.
The biggest project was the headboard. Real headboards are stupidly expensive. So, I improvised. I bought a 4×4 piece of plywood from the hardware store (3. I watched a YouTube video on how to staple fabric to wood. Two hours later, I had a custom upholstered headboard. I literally leaned it against the wall behind my bed. It cost me less than a pizza.
Story time: I also tried to make a macrame plant holder out of old t-shirt yarn. It took me four hours. It looked like a tangled mess of intestines. I threw it away and just put the plant on a stack of books. Sometimes DIY fails. And that is okay. The beauty of a budget is that you only wasted fabric scraps, not a hundred dollars.
Lighting: The Fairy Tale Trick
Nothing ruins a room faster than the “Big Light.” You know the one. The overhead fluorescent or the harsh builder-grade ceiling light. It makes everyone look tired and every color look ugly.
I decided to never turn on the Big Light again. Ever.
For about $15, I bought two strands of warm white fairy lights (the “warm white” part is crucial—the cool white looks like an operating room). Instead of just draping them around the ceiling like a college dorm, I got creative. I hung them behind my new fabric headboard so they glowed softly through the gap. I put a third strand inside a large empty pickle jar (washed, obviously) on my nightstand.
The difference was magic. The room went from “hospital waiting room” to “cozy European cafe.” I also hit up a dollar store for some plain white pillar candles. I put them on old plates from the thrift store. When the sun goes down, I light the candles and turn on the fairy lights. It costs zero dollars in electricity to light a candle, and it makes the room feel like a hug.
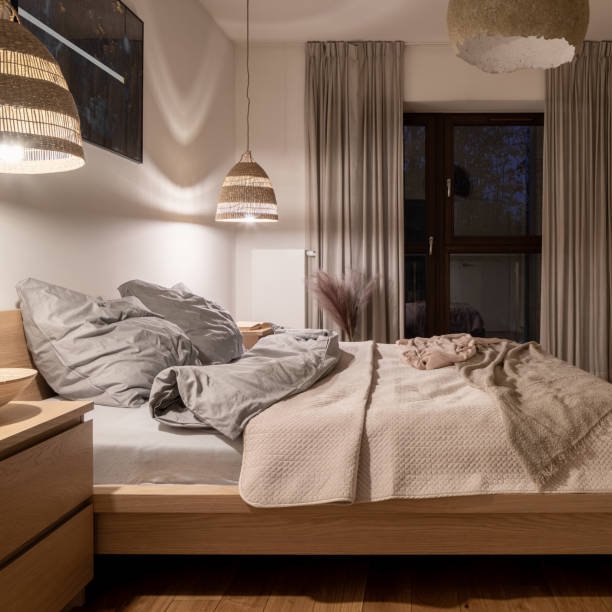
The Plant Conspiracy (Real or Fake?)
Plants change everything. They bring life, color, and texture. But I have a dark secret: I kill plants. I am a plant murderer. I once killed a succulent by overwatering it. How do you overwater a succulent? You try really hard.
Real plants can be cheap if you know where to look. Facebook Marketplace has a “Free Plants” section constantly. People are always dividing their spider plants or pothos. I got three clippings of a pothos vine for free from a neighbor. I stuck them in a mason jar of water. That was six months ago. It is now a cascading green waterfall on top of my bookshelf. Cost: $0.
But if you are like me in the beginning and just want something green without the responsibility? Hobby Lobby and IKEA have fake plants that look surprisingly real. Just avoid the shiny, plastic-looking ones. Go for the ones with “imperfect” leaves—a little droop, a little bend. Place them in a real ceramic pot (thrifted for $1) and nobody will know the difference.
Rule of thumb: One tall plant (real or fake) in the corner, one trailing plant on a high shelf, and one tiny plant on the nightstand. That is the magic recipe.
Textiles: The Cheap Hack for Luxury
Here is the thing about a room: The walls can be ugly, the floor can be scratched, but if the bed looks amazing, nobody notices anything else. The bed is the anchor.
You don’t need a $500 duvet. You need layers.
- The Base: A plain white sheet. You probably already have this.
- The Layer: A quilt or blanket in a neutral color. Found mine at a garage sale for $5.
- The Pop: A textured throw blanket. I knitted a chunky one myself (knitting is cheaper than therapy), but you can find these at TJ Maxx clearance for $10.
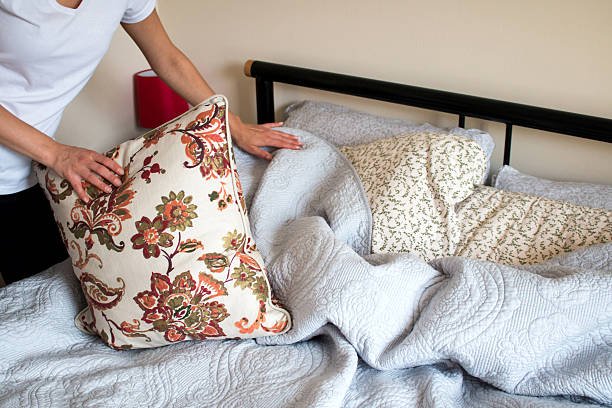
- The Pillows: Here is the secret. Don’t buy expensive decorative pillows. Buy cheap regular pillows and stuff them into interesting pillowcases. I found two velvet pillowcases on clearance for $4 total. I also took an old sweater, cut the sleeves off, and sewed the bottom shut to make a chunky knit pillow cover. It sounds insane, but it worked.
Rugs are usually expensive, but I found a “bath mat” that looked exactly like a sheepskin rug for $8. I put it next to my bed. When my feet hit it in the morning, it felt like a cloud. Nobody knows it’s a bath mat. It’s our secret.
The Art Wall (No Talent Required)
I cannot draw. I cannot paint. But I have a blank wall that needed love. Buying art is expensive. Making art is intimidating. So, I cheated.
I went online and found free printable art. If you type “free vintage botanical prints PDF” into Google, a whole world opens up. I downloaded five high-resolution images of mushrooms and old maps. I took a USB stick to a local office supply store and printed them in black and white on nice, thick cardstock. Cost: $3.
Then, I bought a pack of cheap black frames from the dollar store. Not the glass ones—the lightweight plastic ones that look like minimal wood. I put my mushroom prints in the frames.
I didn’t hang them in a straight, boring line. I held them up on the wall with painter’s tape until I liked the arrangement—one low, one high, one slightly tilted. Then I used Command Strips (the Velcro kind) to stick them up. No holes in the wall. No damage deposit lost.
Bonus idea: I also framed a piece of wrapping paper that looked like watercolor. I framed a page from an old novel I found on the street. I even framed a beautiful scarf I never wore. Art is just stuff on a wall that you like to look at.
The Final Reveal (And The Cost)
So, let me take you back to that Thursday evening where this story started. Two months after the “Landlord Beige Breakdown,” I walked into my bedroom.
The walls were still technically beige. I didn’t paint them. But you didn’t notice the beige because your eye went to the glowing fairy lights, the green velvet pillows, the free pothos plant trailing down the bookshelf, and the giant gold frame with nothing in it.
I sat on my bed. The laundry was folded. The textbooks were gone. In their place was a thrifted stool holding a jar of lentils and a candle.
How much did it all cost? Let me do the rough math.
- Thrift store frame & jars: $7
- Spray paint & plywood for headboard: $19
- Fabric for headboard (old sheet): $3
- Fairy lights & candles: $18
- Printable art & frames: $8
- Throw blanket (clearance): $10
- Bath mat rug: $8
Total spent: $73.
I didn’t break fifty bucks in one trip, but over two months? I transformed a room I hated into a room I never wanted to leave for $73. And that, my friend, is the whole point.
You do not need a renovation budget to have a sanctuary. You need patience, a willingness to dig through the “free” section on Facebook, and a little bit of faith in a can of spray paint.
Now, go turn off the Big Light. You’ve got this.
Frequently Asked Questions (From My Actual Experience)
I cannot draw. I cannot paint. But I have a blank wall that needed love. Buying art is expensive. Making art is intimidating. So, I cheated.
I went online and found free printable art. If you type “free vintage botanical prints PDF” into Google, a whole world opens up. I downloaded five high-resolution images of mushrooms and old maps. I took a USB stick to a local office supply store and printed them in black and white on nice, thick cardstock. Cost: $3.
Then, I bought a pack of cheap black frames from the dollar store. Not the glass ones—the lightweight plastic ones that look like minimal wood. I put my mushroom prints in the frames.
I didn’t hang them in a straight, boring line. I held them up on the wall with painter’s tape until I liked the arrangement—one low, one high, one slightly tilted. Then I used Command Strips (the Velcro kind) to stick them up. No holes in the wall. No damage deposit lost.
Bonus idea: I also framed a piece of wrapping paper that looked like watercolor. I framed a page from an old novel I found on the street. I even framed a beautiful scarf I never wore. Art is just stuff on a wall that you like to look at.
The Final Reveal (And The Cost)
So, let me take you back to that Thursday evening where this story started. Two months after the “Landlord Beige Breakdown,” I walked into my bedroom.
The walls were still technically beige. I didn’t paint them. But you didn’t notice the beige because your eye went to the glowing fairy lights, the green velvet pillows, the free pothos plant trailing down the bookshelf, and the giant gold frame with nothing in it.
I sat on my bed. The laundry was folded. The textbooks were gone. In their place was a thrifted stool holding a jar of lentils and a candle.
How much did it all cost? Let me do the rough math.
- Thrift store frame & jars: $7
- Spray paint & plywood for headboard: $19
- Fabric for headboard (old sheet): $3
- Fairy lights & candles: $18
- Printable art & frames: $8
- Throw blanket (clearance): $10
- Bath mat rug: $8
Total spent: $73.
I didn’t break fifty bucks in one trip, but over two months? I transformed a room I hated into a room I never wanted to leave for $73. And that, my friend, is the whole point.
You do not need a renovation budget to have a sanctuary. You need patience, a willingness to dig through the “free” section on Facebook, and a little bit of faith in a can of spray paint.
Now, go turn off the Big Light. You’ve got this.
1. "I live in a rental apartment where I can't paint the walls or drill holes. What is my first move?"
Oh, I feel you. My first move is always lighting. Kill the overhead light. Buy two clip-on reading lights from a hardware store ($6 each) and clip them to your headboard or desk. They create warm pools of light. Second, buy Command Strips (the picture hanging kind). They hold up to 16 pounds. You can hang mirrors, art, and even lightweight shelves without a single nail. Third, a large piece of fabric (a tablecloth or a flat sheet) hung from a tension rod can act as a “fake wall” to hide an ugly closet or create a headboard look.
2. "How do I make my small, cramped bedroom feel bigger without buying new furniture?"
Stop using your dresser. I’m serious. Donation. Or move it into the closet. The biggest culprit of a cramped room is too much bulky furniture. Use wall shelves (cheap brackets from the hardware store) instead of a nightstand. Hang your mirror on the wall opposite the window to reflect light. And for the love of all that is holy, get your clothes off the floor. A clean floor makes the room feel twice as large. Also, use vertical space. Hang that plant from the ceiling. Stack those suitcases. Go up, not out.
3. "I tried a DIY project and it looked terrible. What do I do with the failure?"
First, give yourself a hug. I have a box of shame in my closet full of failed DIYs (crooked macrame, a birdhouse that looks like a torture device, a painted vase that peeled). Here is the fix: Repurpose the materials. That ugly painted vase? Spray paint it black (spray paint fixes everything). That failed macrame? Cut it up and use the string to tie up your plant stems. That crooked shelf? Unscrew it, patch the wall, and just put a framed photo over the hole. The difference between a “pro” and a “beginner” is that the pro knows how to hide their mistakes. Don’t throw it away. Just… hide it behind a plant. That’s what I do.